How to Install WordPress? A Simple Beginner’s Guide
Where to begin?
The cost of website creation varies and can be both very low and incredibly high. It all depends on how large a business you operate, and which platform you use. It can be an expensive authoring application, or a ready-made content management system, the choice is yours. It all depends on the funds that are incorporated in the creation of your future website.
Today we will look at a simple and inexpensive way to create a website using WordPress, in this case $ 100 is enough to start.
Considering that the development of even a simple application for a website with not-complicated functionality can cost thousands of dollars – this is a great opportunity to save your money and time, because with help of WordPress you can create an application of any complexity, with any functionality you need – for example, online booking, social network functions, online store, and many others.
Today, many hosting providers offer you a free domain name registration when you purchase one of their hosting plans. This implies a free domain registration for only one year, after a year the domain registration will need to be renewed, and this can be done at the place where you buy the domain (domain registrar), in our case, it will be a hosting provider, which is often a partner of the domain registrar.
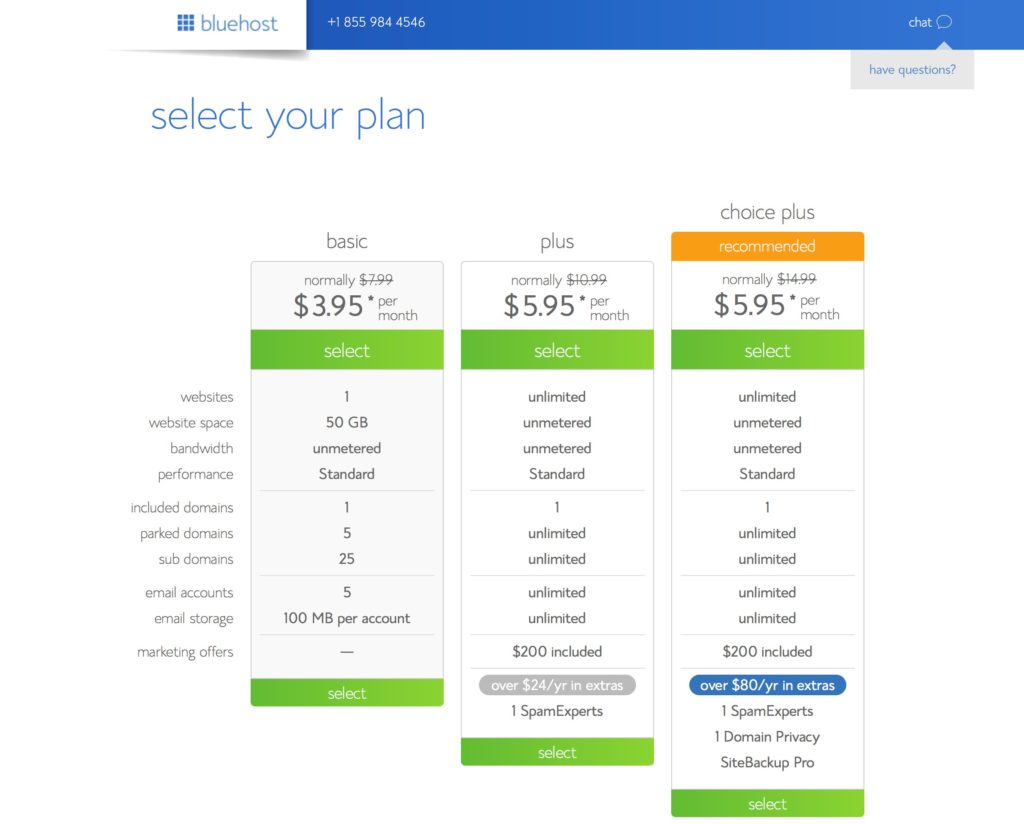
For our guide, we chose bluehost.com, which comes as one of the most popular and powerful web hosting solutions in the world. This company offers specialized hosting prepared to work with WordPress.
All you need to do is choose the appropriate package of services. If you need a platform for one website, then the WP Standard plan is quite suitable for you.
- Choose a hosting plan, click Select and you will be transferred to the tab where you can choose your domain name.
Bluehost offers free domain registration with the purchase of one of the hosting plans. If you already have a domain, you will be prompted to use it.
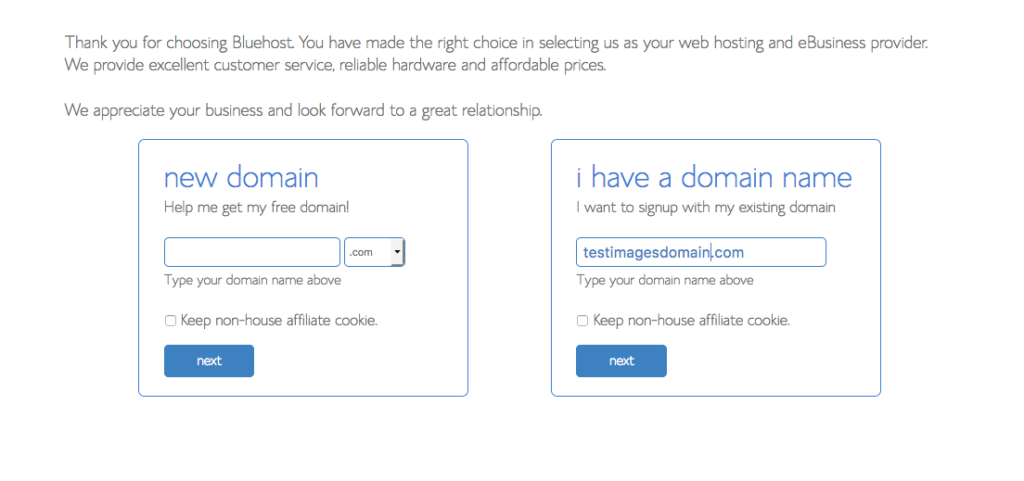
- After you select a domain, you will be redirected to the hosting plan purchase page.
You should choose the most suitable hosting usage period for you – from a month to a year. I ask you to immediately draw your attention to the fact that if you choose the longer term of use, then you get the cheaper monthly fee. As soon as you are finished with the purchase of a hosting plan, you will receive an email with detailed information on logging into your control panel. The hosting control panel contains all the necessary tools to manage your sites.
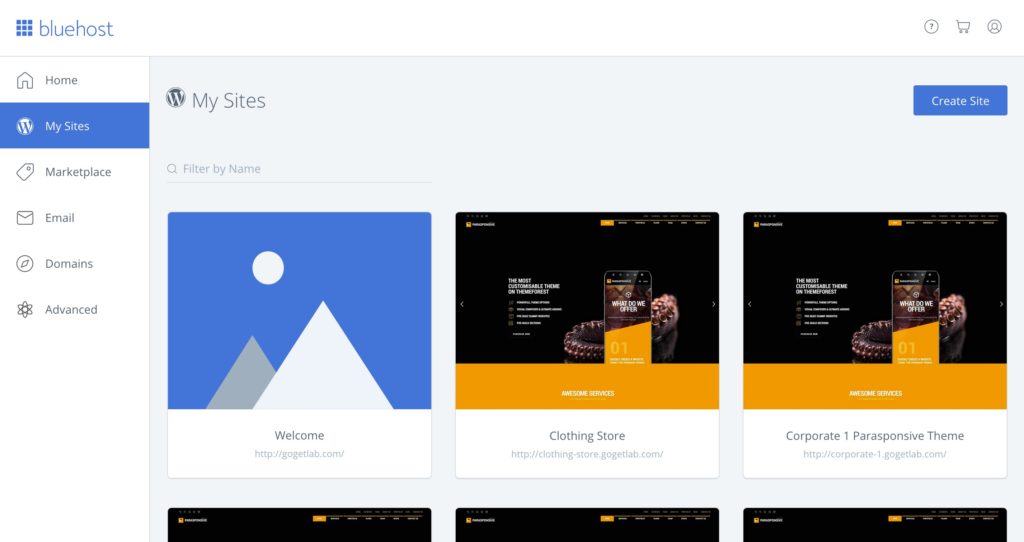
- So, you finally have an access to your control panel, and now you will need to find the My Sites section, where you will see the WordPress icon.
- You should click on Create New Site button in order to quickly install it on your website:
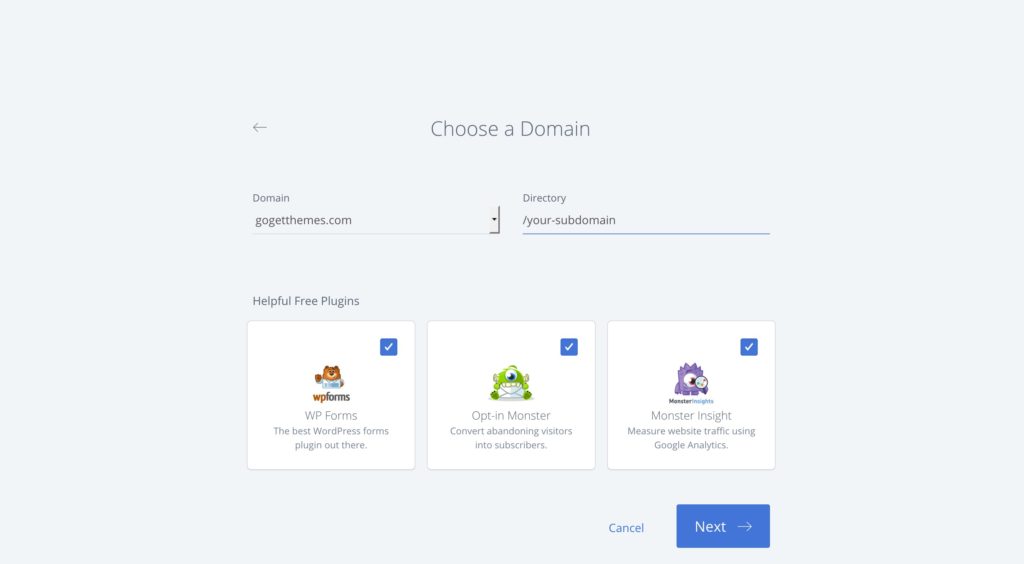
- The next step is to choose the name of your site, and set the login and password to log into the WordPress admin panel:
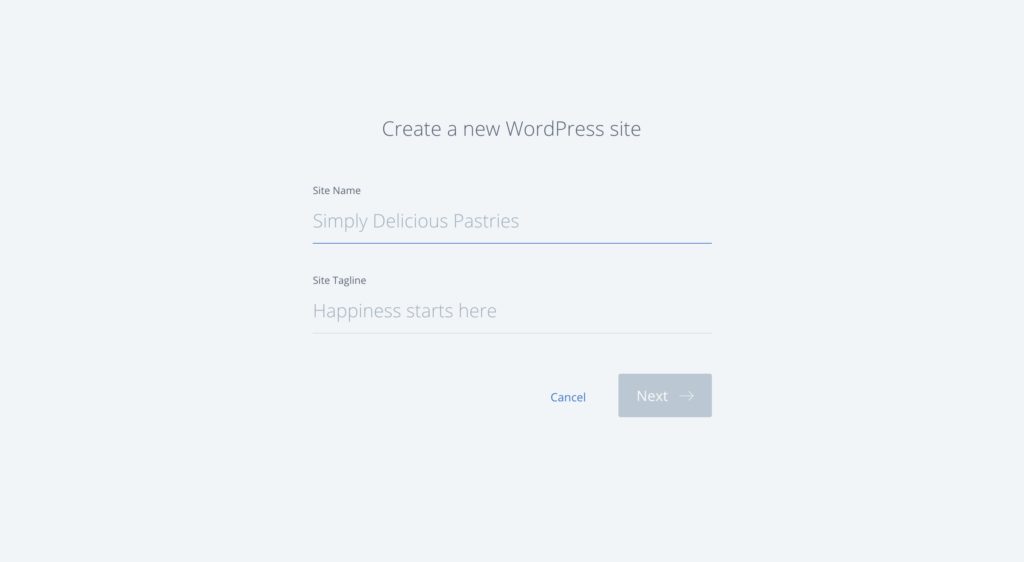
- Here you should select the domain name (site) in the drop-down menu where WordPress will be installed directly:
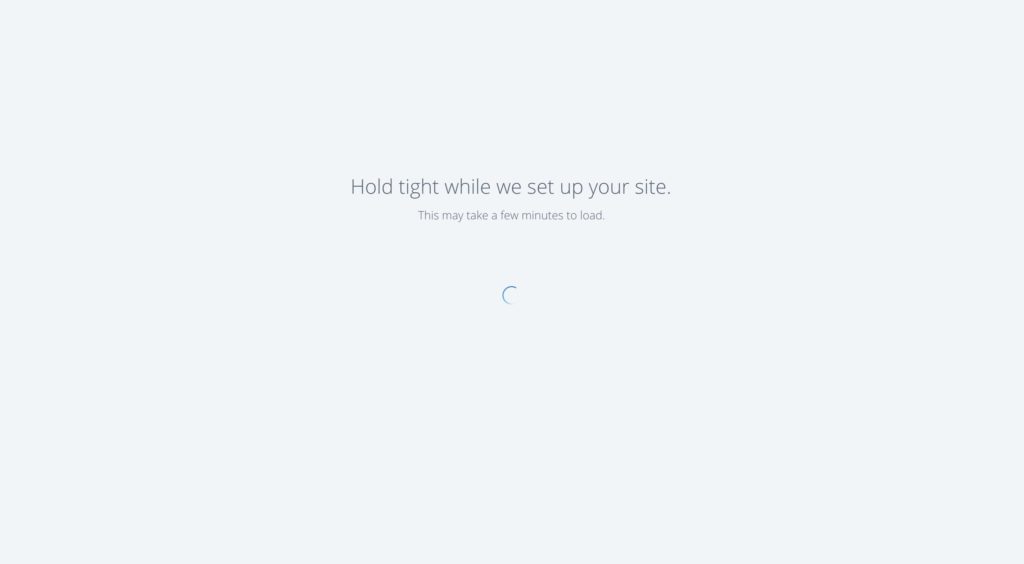
- After clicking the Install button, the installation will start, it’s usually takes several seconds:
- Once the installation is done, you will see the “Installation complete” link, click it and it will redirect you to the login page of your WordPress administrators panel:
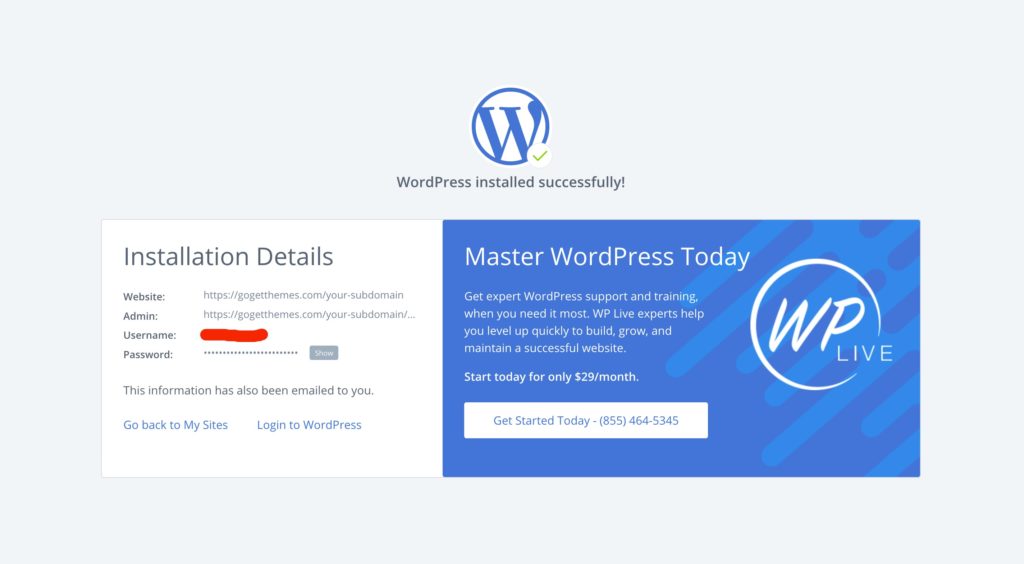
Just use the login details that you used while installation in order to log in. That’s all! Congratulations, you have installed WordPress on your web hosting.
So, we figured out the domain registration and hosting setup, as well as installed WordPress for your website.
Our next task will be – to find a template suitable for your business. Let’s start with the fact that all sites created with WordPress use certain templates created specifically for this system.
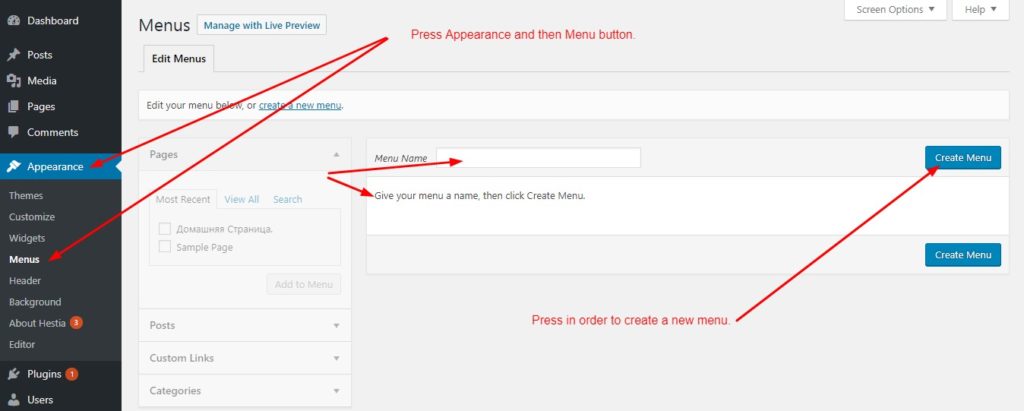
- You will be able to choose a suitable template for you, for this we should click Appearance button in your WordPress administrators panel and go to the Themes tab:
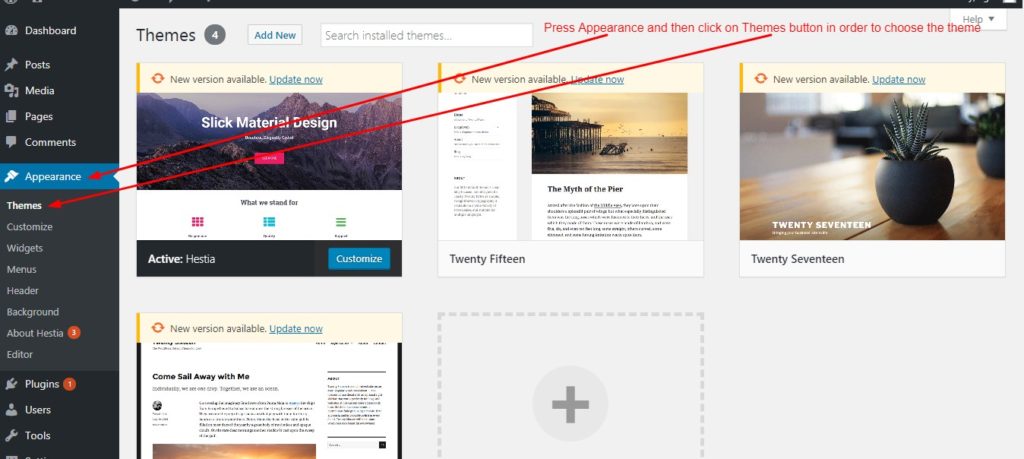
By default, in each WordPress build you will find three standard templates, we also need to find something more interesting – for this we:
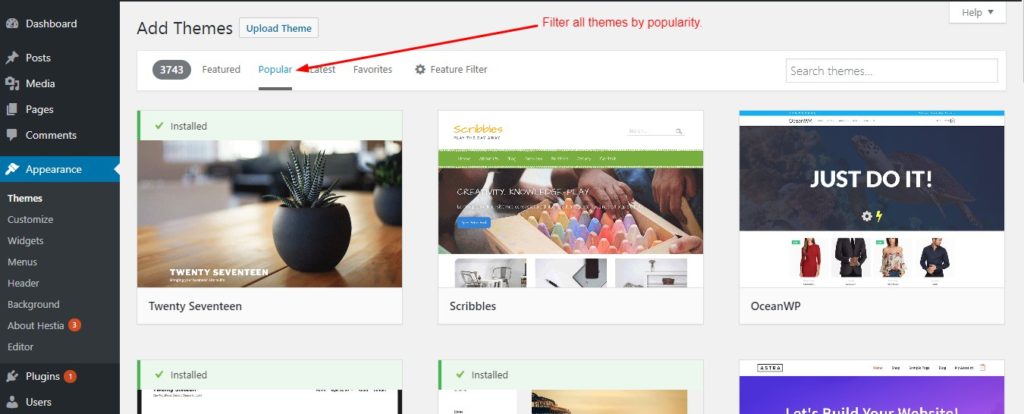
- Сlick on the Add New button, and move on to the list of free themes offered by WordPress.org for general use, here we select the filter by popularity :
In our guide, we decided to use the Hestia theme as an example – to install it, we click on the Install button that appears when you hover over the window with the theme. We are waiting for a few seconds and as soon as the theme is installed, you will see the Activate button in the same window to activate the theme.
Once the theme is activated, you will be transferred to a tab with all installed themes, where you will see the Customize button, in our case all the settings for the theme’s appearance will be in the standard Customizer plugin. We decided to use the Hestia theme for our tutorial so we found and installed it by pressing the Install button in the theme preview window.
- We should wait for a few seconds and as soon as the theme is installed, you will see an Activate button in the same window , which you must click to activate the theme.
- After the theme is activated, you will be transferred to a tab with all installed themes, where you will see the Customize button, in our case all the settings for the theme’s appearance will be in the WordPress Customizer extension. There are two standard types of content in WordPress – Posts and Pages.
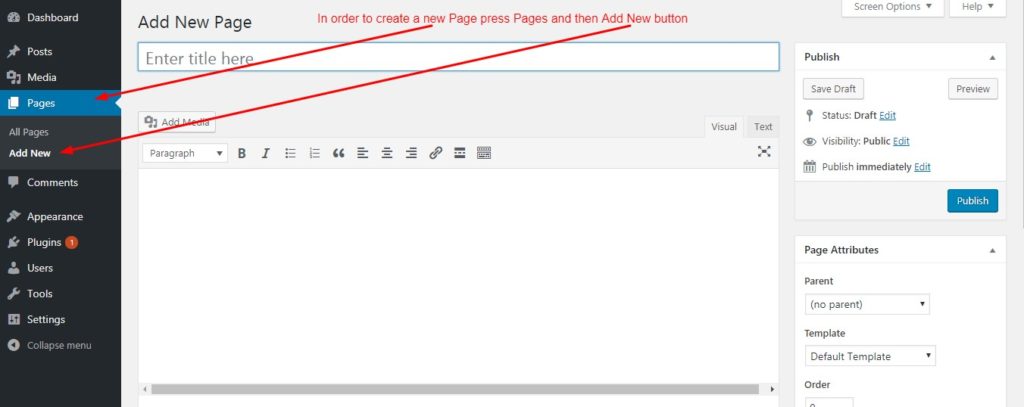
By default, after installing any theme, the standard blog with posts will be the starting page for your site. Let’s conditionally imagine that we need several pages for our site – Home Page, Shop, Blog. Pages in WordPress are created in the Pages => Add New tab.
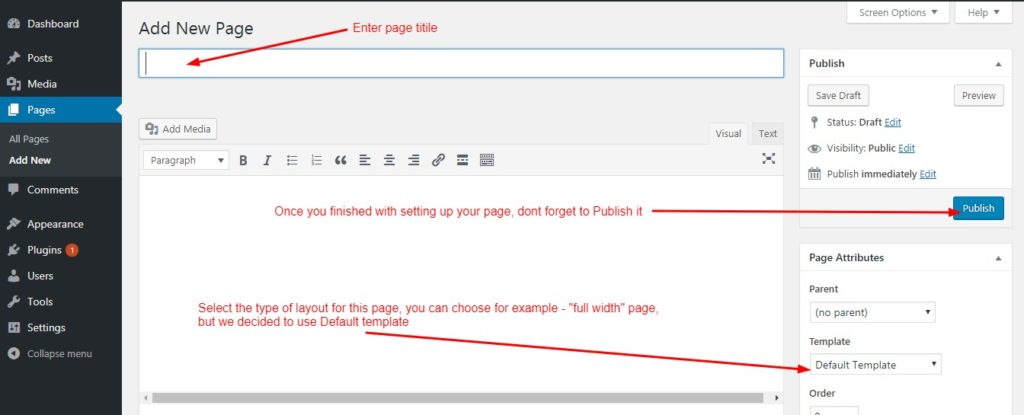
- So, now we need to create and configure our new page, for this we add the title of the page, in our case it will be the Home page – in the sidebar on the right we select the appropriate type of content to display, we decided to leave the default Default Template.
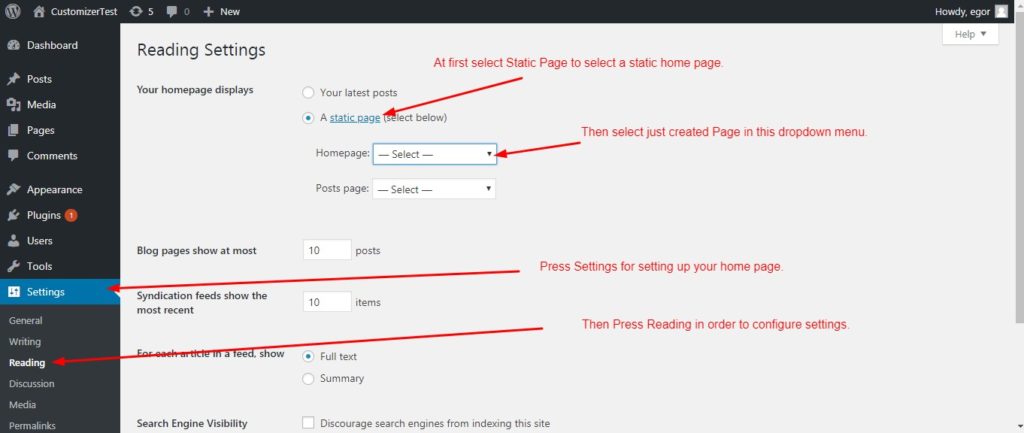
- Then we need to set this page as the main page, for this we go to the Settings tab, then click the Reading button and select our main page.
So, we set up our main page, now we can add a menu for our site. In the Hestia theme, the developers added the Add Menu button at the top of the page, clicking on it will take you to the menu settings tab. But since such a button can not be found in every topic, you can take a look at the screenshot below in order to do it by yourself, so in the future, you will understand how to do it:
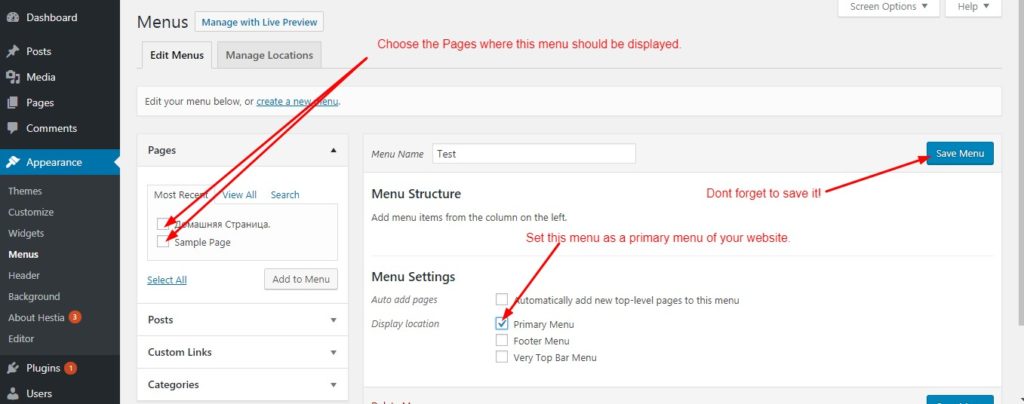
Then we should add the menu items which we would like to display for our customers since we have decided to create a multi-page website, we want to display links to our pages in this menu. We have created one-page layout, but you can practice and add a few more pages at your discretion. In this example, we will display the finished pages in our menu:
Now you can check your website. You just have created your first page using WordPress! Great!
In the Hestia template, all appearance settings of your site can be changed with help of the standard Customizer. If you click on the Customize button in the top WordPress Control Panel, you will be provided with the tools to make all the necessary changes on the page. You can practice and try to create a design that suits you.
Today we taught you the basic skills of working with WordPress, and more specifically – installation of the system itself and theme installation as well. Now you know that in order to get started, you need to create new pages and add a menu for your site. Also, you can now easily work with hosting, and learn how to register your domain name.
A good idea to start with the No. 1 selling WordPress theme –Parasponsive, which you can buy